A useful estimate starts with the parts of the job that cannot be guessed from a street address. Work through the steps below before you call or send photos.
Start with one wide view
Stand far enough back to show the whole shed, its roofline, the ground around it, and nearby fences or landscaping. A close-up of one wall cannot show the working space. Take another wide photo from the opposite corner if the shed sits tightly between structures.
Photograph every side and the inside
Capture all four exterior walls, including the side that looks difficult to reach. Open the door and photograph the floor, shelves, loft, and remaining contents. If the roof leaks or a wall leans, show the damage from a safe distance and do not enter an unstable structure.
Show the route to the street
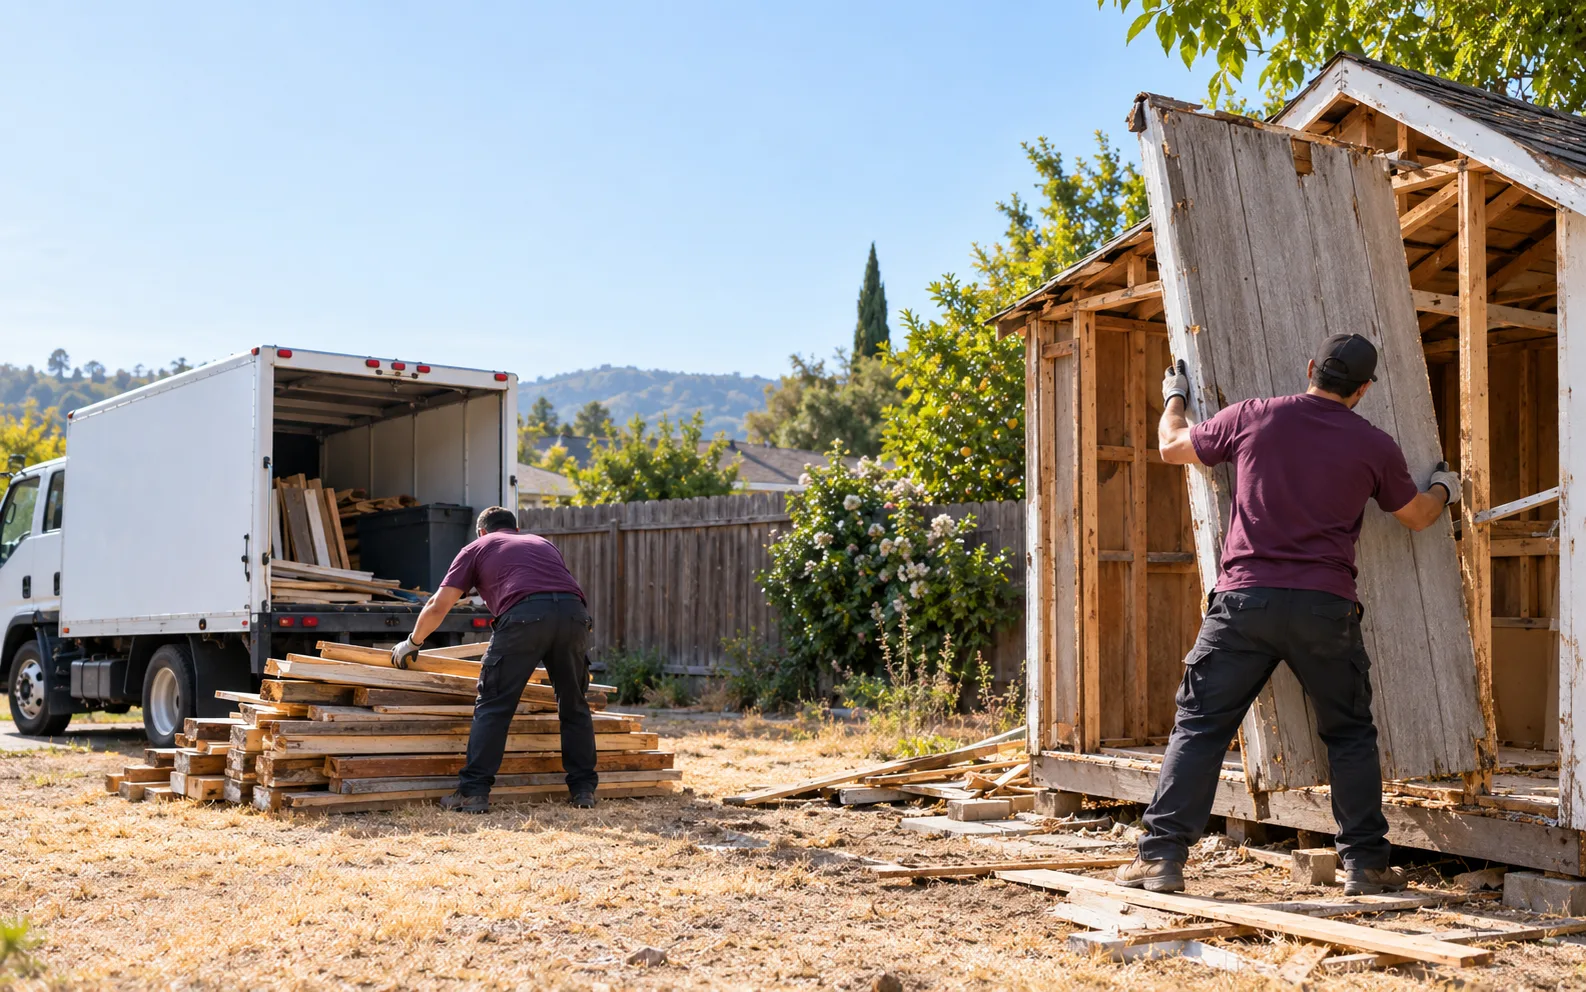
The crew needs to know how separated panels and debris will travel from the yard to the truck. Photograph the gate open, narrow side passages, stairs, corners, low branches, and the curb or driveway where a truck could load. Put a tape measure across the narrowest gate opening when possible.
Call out utilities and foundations
Photograph electrical cables, outlets, plumbing, gas lines, anchors, pavers, or a concrete slab. Do not open panels or disconnect anything for the photo. Active utilities and foundation work can change the trade or permit requirements.
Use this six-photo checklist
- Full shed and surrounding yard
- Opposite exterior angle
- Inside and remaining contents
- Narrowest gate with a measurement
- Complete carry route
- Utilities, anchors, or visible damage
Send the address with the photos and say whether the contents, foundation, or adjacent debris should be included.